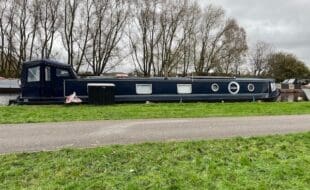
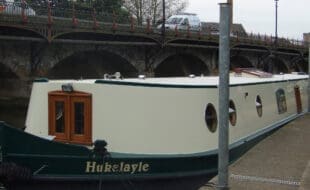
The weather’s looking up and it’s a great time to get those pressing jobs done on the boat.
One job that many owners undertake as a DIY project is the external painting of the narrowboat/widebeam topsides and cabin shell. In the short term this can really brighten up a vessel and make a massive instant difference, however if not done correctly it can cause a number of long-term issues that can create several problems and, in some cases, actually reduce the value of your vessel considerably.
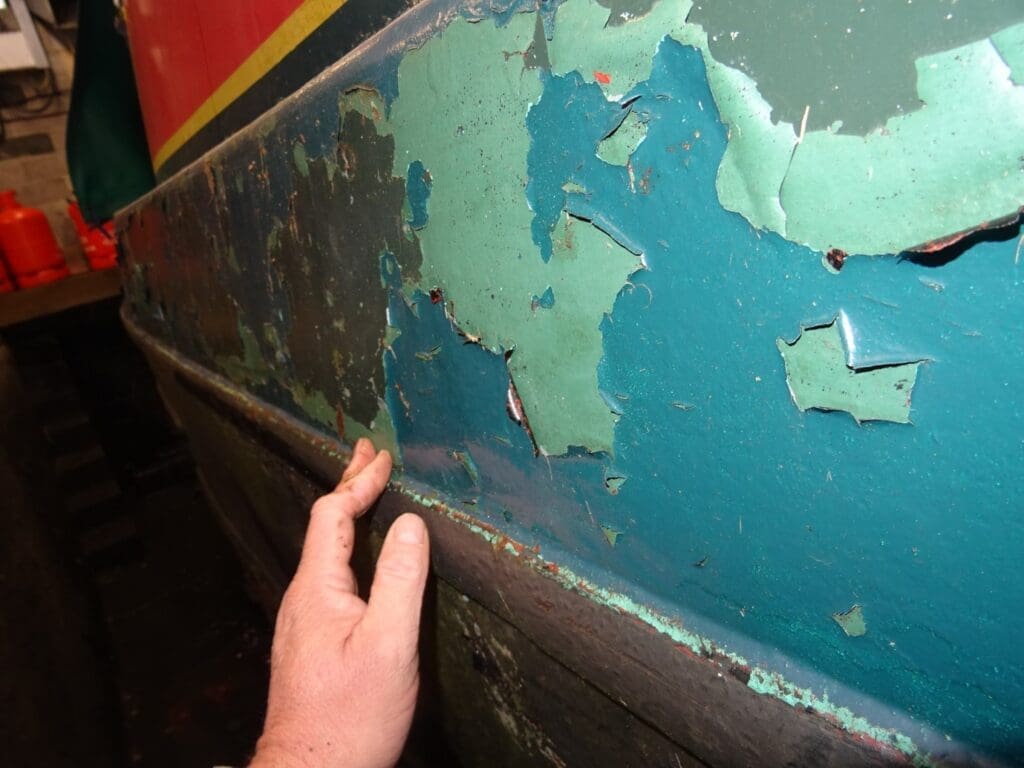
When surveying vessels I regularly find issues where owners have either got up that morning with a can of paint and just started painting the topsides with absolutely no preparation. While initally the job can look just the same, in time the coatings will fail and can trap water in areas around fittings causing significant corrosion.
Here’s a few tips for making the job last well. No matter what you plan to paint, in every case preparation is essential. My father had a great motto, ‘hurry slowly’, in other words when painting do it well but don’t rush it. Set achievable targets in a sensible timescale for that day.
Obviously cleaning down the existing paint coatings is a basic task along with the appropriate keying of the surfaces by sanding etc is essential. Deciding if the existing coating has suitable adhesion and is okay to over paint can be a little harder but there are clues to look for.
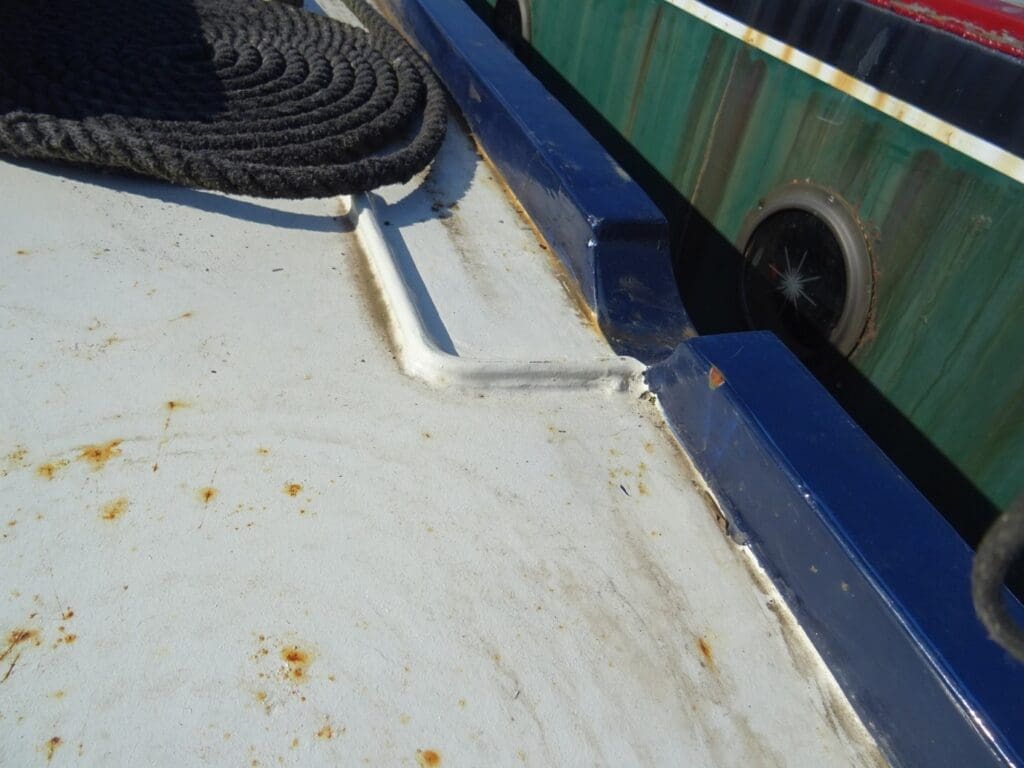
Is corrosion breaking through the existing coatings? Look around deck fittings etc. Is it flaking? This can be from previously painting without proper preparation and then the coating will virtually peel off. If it’s a ‘yes’ to either of these then you may need be realistic and properly strip back to the bare metal.
At that point it’s essential that the metal is spotlessly clean and well primed. Any preparation is almost more important than what make of product coating you buy so take your time. Most professional painters would remove as many fittings as possible and make sure the surfaces under them are clean and corrosion-free.
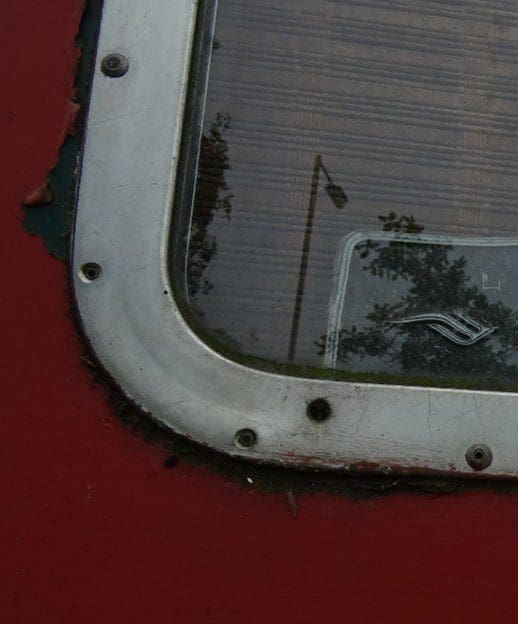
That would include fitted window frames, dome vents and fender eyes; there are good reasons for this, items like windows are mostly made from differing materials and will, if the sealant is not maintained, allow corrosion under the returns. Again the fastenings in time will also start to fail so regular replacement at the same time is quite a good move.
This principle is the same for dome vents, chimney stacks etc; for amateur maintenance this is not always easy and needs to be weighed up. So look for the start of corrosion working out from under fittings before repainting, if there are indications of corrosion then honestly they shoud be removed and deep cleaned.
Look for any thinning or holes developing in the plating and if necessary get them repaired before continuing and then ensure everything is appropriately primed. If you aren’t feeling confident and the surfaces around the fittings look okay then you could use a good quality masking tape around the fittings.
Weather window
For most owners painting outside is never ideal and picking a good week of weather for preparation and repainting in the UK can be a bit of a game of Russian roulette! I’ve often tried a guideline of watching the weather forecast a few days before and only start painting when it’s obvious the humidity in the air is low, there is no chance of rain and the air is warm and obviously the surface is dry.
Now that may sound obvious but come late April or early May it would mean start preparation early and not painting outside till about ten in the morning and make sure you stop before 2pm as surfaces will start to cool and attract evening dew.
Choice of paint is again important but most companies’ quality is very good these days with ISO specifications they have to comply with. All companies have clear step by step methods of coating and advice on use and correct methods of safely using the product. Application with a roller is much quicker than with a brush but it is important that the thickness of the paint is correct.
If using a brush, an old tip has been to use one you feel confident with and has been broken in – used before so hopefully all the loose hairs are gone.
Again when surveying I’ve seen craft that have been painted and the coating is so thin it’s really patchy, likewise too much also can ruin a finish with massive amounts of paint runs. Most professionals wil spray something; that isn’t really going to happen outside unless you are very talented and have got still air, but I’ve seen some very good hand-painted finishes acheived by yards and DIY by good laying off of the final finish.
In most cases that would be by brushing from gunwhale to top of side shell in one stroke. If painting the toe rail sides don’t forgot to add some sort of non-slip finish; silver sand or crushed walnut both work well.
Painting the topsides well should last around five years. If basic preparation isn’t done I can assure you will be lucky to get it to last a year in our changeable weather.
By Ben Sutcliffe-Davies
Ben Sutcliffe-Davies celebrated 40 years in the marine industry in September 2018, he started boat building with his father and uncle and initially built wooden craft, over time he has also built craft in GRP, steel and aluminium. He has been a marine surveyor for over twenty years and is now a full member of the Yacht Designers and Surveyors Association (YDSA) as well as of British Marine and the Inland Boat Building Association.
#towpathtalk #canals #canalsandrivers #narrowboat #rivers #waterways #lifeonthecut #boating #boats #hintsandtips #boatmaintenance

